Showing posts with label Swiss Dots. Show all posts

Friday, September 23, 2011

Birthday Fun

     Well, I promised I'd post the card today and I will, but first let me explain, ha, got your attention now don't I. Before using this caption, I did get my husbands permission, since it's for a friend of ours, whom he works with. Also, I did not invent this caption, it's on the Sweet Treats cart from Provo craft, I just removed the candle, but it is valid for this image as well. Now you are really interested, if you haven't peeked already ;- ) (My son thought it was objectionable though, again Provo Craft made it up, not me.)

     The image, called favor is from the Sweet Treats cart also and I made it into a shaped card (actually the blackout of the image)  in Design Studio, changing both the length and width. It will fit in a business size envelope. I layered it with the main image and embossed the horn part with Swiss Dots. I used AC Metallic Cardstock and K andCompany Confetti Designer Mat Stack for the layers. I cut the sentiment from some scrap cardstock then I doodled on it with gel pens and a sharpie and inked it with Distress Inks. I attached it with pop dots.


     The inside sentiment was done digitally and the fonts are LDJ Birthday Bash from Lettering Delights (find them on my side bar - great fonts, dings, SVG's, graphics and cut-outs) and NewWGL4Font. Now there are a number of fonts with this name and I'm not sure where I got mine, but if you go to dingbats.font-cat.com here, you can find a number of them including this one and get them free. I had to fussy cut the papers and I added some metallic confetti that I had from Stampendous Class a Peel "Grad you Did It" graduation stickers.


     Actually, John is a very good friend and the card is fine. Thanks for stopping by. Please, leave a comment. they really do mean so much. Have a weekend full of inspirational activities ;- )

Sunday, July 31, 2011

Two quick cards

     Well, I was down to the wire on two cards. It was a busy week and then I hadn't been feeling well, causing me not to get these two cards done earlier. So, here I was needing to get them done, before the mail carrier got here. Fortunately, I had a few tricks up my sleeve. I had picked up some note cards from Studio g in the Dollar Bin at Michaels', that had pre-cut windows. I'd also had on hand an assortment of embellishments that I've picked up over time, when there have been sales at Michaels' and JoAnn's. These are from JoAnn's Craft Essential 's line.  The front is embossed with Divine Swirls. The stamp, showing through the window of the anniversary card, is from Stampabilities. It was stamped with Big and Bossy and embossed with gold metallic embossing powder. Hint: Use a dryer sheet to wipe the area where you are going to emboss before you stamp to reduce the amount of powder that clings to unwanted areas. I wish I would remember this the ahead of time, every time ;- ) I colored it with both yellow gel and yellow glitter pens to make a champaign look and went over the glasses with Diamond Glaze.  Used my heat tool to speed drying.


     The inside sentiment is from Inkadinkadoo.


     The birthday card follows the same formula, only the stamps are from Hero Arts, made for Archiver. I embossed it with Swiss Dots.  Hint: I had to run it through twice and doing this would cause a section of the dots to de-boss, so I lined it up, to be the area where I would put my sentiment/embellishment. Always plan ahead - an interesting concept for me ;- ) OK, it was a happy accident the first time, but my pickiness, made me do this one a second time and I did it intentionally that time, so there!


It's really more red and maroon than pink.

     For quickie cards, I think they turned out pretty good. Kind of like the less expensive line of cards, but still with that homemade touch. We all have those times when we are out of time. The anniversary couple's daughter has a birthday this week and I need to make a unicorn card for her. So, they will get the full custom treatment then ;- ) As it turned out, it was good they were fast. I didn't just have to beat the mail carrier, but get to the post office before it closed, because I was out of stamps and traffic was horrendous because of a parade. Some days nothing is easy ;- )

     Thanks for stopping by, during your busy summer (if your north of the equator, like me.) Please leave a comment because the fuel me. Have a Blessed Sunday!

Saturday, July 9, 2011

Ladybug, little girl card.

     Today's card is from Cricut's Birthday Bash cart. I made this card for the daughter of a friend and ex-colleague of my husband. I cut the ladybug, base and the number 5, (which comes from the next page of the handbook) on 3 1/4 inches. The pink and green cardstock is Bazzill and the pattern paper is Paper Studio from Hobby Lobby. The ladybug is embossed with swiss dots. I used frosted lace stickles on the black spots and diamond glaze on the antenna tips.


     For the inside, I used the sentiment from the same page as the ladybug. I doodled on it with a green glitter gel pen, to give it some interest and added a gem, from Hero Arts, to one of the i's.


     What would I do differently? I might have made the ladybug smaller. I thought about faux stitching the pink layer, but wasn't sure if I could do it neat enough. Should try that before I glue it down. Maybe texture emboss the inside pink layer, but I don't know.

     I don't know why I think I'm further along than I am after I pick the image I'm going to use and maybe the sentiment. Sometimes, I even have a basic layout in mind, but I seem to forget how long it takes to pick the papers for the pieces, if I'm cutting the image out, decide on embellishments, decide the total color scheme, choose how the sentiment will be displayed and all the other "little"decisions like that (embossing, pens, glitter, ribbon.........).  Fortunately, this card isn't needed until the end of the month, but I have others I put aside because I thought I knew what I was doing with this one, it would be quick, ha. It always takes longer than I thought. I need to hunt for supplies for 2 of the others, for the basic idea rattling around in my head, that will of course take 10X longer than I anticipate ;- )

     Thanks for checking out my card and my random thoughts. Please, leave me a comment if you've got a moment. I really appreciate them. Have a blessed day!

Wednesday, June 15, 2011

Hats off to the graduates!

    Well despite the rain, I did get my last window box potted today and made 2 cards. The puppy and I decided to plant between the raindrops, but of course as soon as we got out, it started drizzling again. It was a good thing that I got that new window box, because as I was scooping the stones out of it, I suddenly saw the top of my table through what should have been the bottom of the old window box, Yikes!

 The first card is the same as the graduation card that I posted earlier. I did like how it turned out and I know the mother of the graduate I was making the 2nd one for liked it too, so I made the same one for her daughter.


     For the directions for this easel card, click here. The second card is for another girl from the same school, so I've used the same school colors. The pennants were made with the Martha Stewart Seasonal Cake Art cart. I used a lime green Sharpie marker to draw the green line down the center of the yellow middles of the banner to add more interest and the green backgrounds were embossed with Swiss Dots. The 2011 was done on the Gypsy with Plantin Schoolbook. The brads are Painted Brads from Recollections and the ribbon is Class Act (2010) from TPC Studio (I believe the have the same style this year too). The grad cap is an embellishment from Jolee. The background paper is from Paper Studio's Graduation Paper Pack (the same as I used for the other cards).


     I haven't done the inside of this card as I usually do, because I haven't decided how I'm going to finish it yet, so I wasn't sure which paper to use on the inside.

     I think the rose card is still my fav, though this is a nice change of pace. I tried a number of different things on the yellow part of the banners, but didn't have stamps small enough to fit on them. Looking at it now, I'm thinking that cap might need some perfect pearls on the edges to give it some bling and more dimension (though it is 3d in person ;- ). 

     Thanks for stopping by. Please leave a comment so that I know you were here. Your 2 cents means very much to me. Have a great and blessed rest of the week.

Thursday, April 7, 2011

Yes, it's another guy card.

     Well, this guy is little. I remembered later, that I do have a little girl birthday first. Darn, it would have been a nice change of pace ;- ) This little ones Grandmother, told me he likes penguins, so I used Cricut's Create a Critter for the Penguin and the Balloon, using the Gypsy to add the number 3 to the balloon. The font, the sentiment and card base come from Birthday Bash. I too, was frustrated and annoyed after reading Provo Crafts "Official Statement" on their lawsuits today. Unfortunately, I have too much invested in the Cricut et. al. and not enough money to switch horses at this point, so I have to stick with the pony I'm riding. I don't plan on upgrading my Expression, though, and will continue on with SCAL, because that was a major factor in my purchase decision.  OK, back to the card now...

 
     What does the inside look like? Well, you'll have to wait to tomorrow to see. Why? Because it's not finished yet, he he! I did get some great paper at JoAnn's today. The had DCWV on sale for 50% off and I picked up Lemon Flowers (the 12 X12 and both mat stacks). Archiver also has had these new stamps and honeycomb papers that are really neat. See the line here. I had to put my name on the list and my stamp came in today and I had a 30% off coupon. I've heard that they've run out at many of their stores. I hope to use them soon.

     Thanks for stopping by and please leave a comment if you have the time. I really appreciate them all.
Have a blessed and inspired day!

Thursday, March 3, 2011

Friends are turning 65?!

     Having my son home is making  it hard to get a card done, every other day. I am soooo glad he is home. I'm just not getting as much done ;- )  I have to have this card done for a party, so I thought I'd better do it today. I used my Expression and Create a Critter. The background paper is from Basic Grey's Granola 12 x 12 paper pad. The bear is cut at 2 1/14 inches and popped up on the card. I used a bunch of scraps for the layers. I used a white gel pen to highlight his eyes. The pinwheel and hat are from the page with the cat from the same cartridge. I used Blueberry Pie paper from Archivers and some scrap yellow pattern paper with white swirls in it. They didn't show up well  in the picture and I was too tired to re-do them, sorry. I went over the swirls with the clear glitter gel pen and added a button with Martha Stewart twine. I also added yellow Viva Decor Pearl Pen to the ball at the top of the hat. The hat and pinwheel were popped up twice as high as the bear. The words were cut from the Phrase on the page with the cat at 2 inches with paper from Basic Grey's Granola and the Blueberry Pie. The top layer was run through the Big Shot with Swiss Dots and popped up. The dots have glitter added by the clear glitter pen as well.


     On the inside, I used the Blueberry Pie paper and a striped pattern from the Basic Grey Granola pad to form a mat for the computer generated sentiment. The fonts I used are SNF Jester Fool (from Scrap n Fonts), Rasp (for the word "age") and Tabitha. The embellishment at the center top, is from JoAnn Craft Essentials Birthday adhesive bubble icons. The candles on either side of it were give to me by a friend as part of a present with a number of other mixed embellishments.


     What would I do different? Maybe add some inking. What do you think? Thanks for stopping by and sharing some of your precious time with me. If you have a moment more, I'd really love to hear from you, so please leave a comment. Thanks!

Wednesday, February 23, 2011

The Guys Cocoa Packet Cards a Couple of Baptism Cards

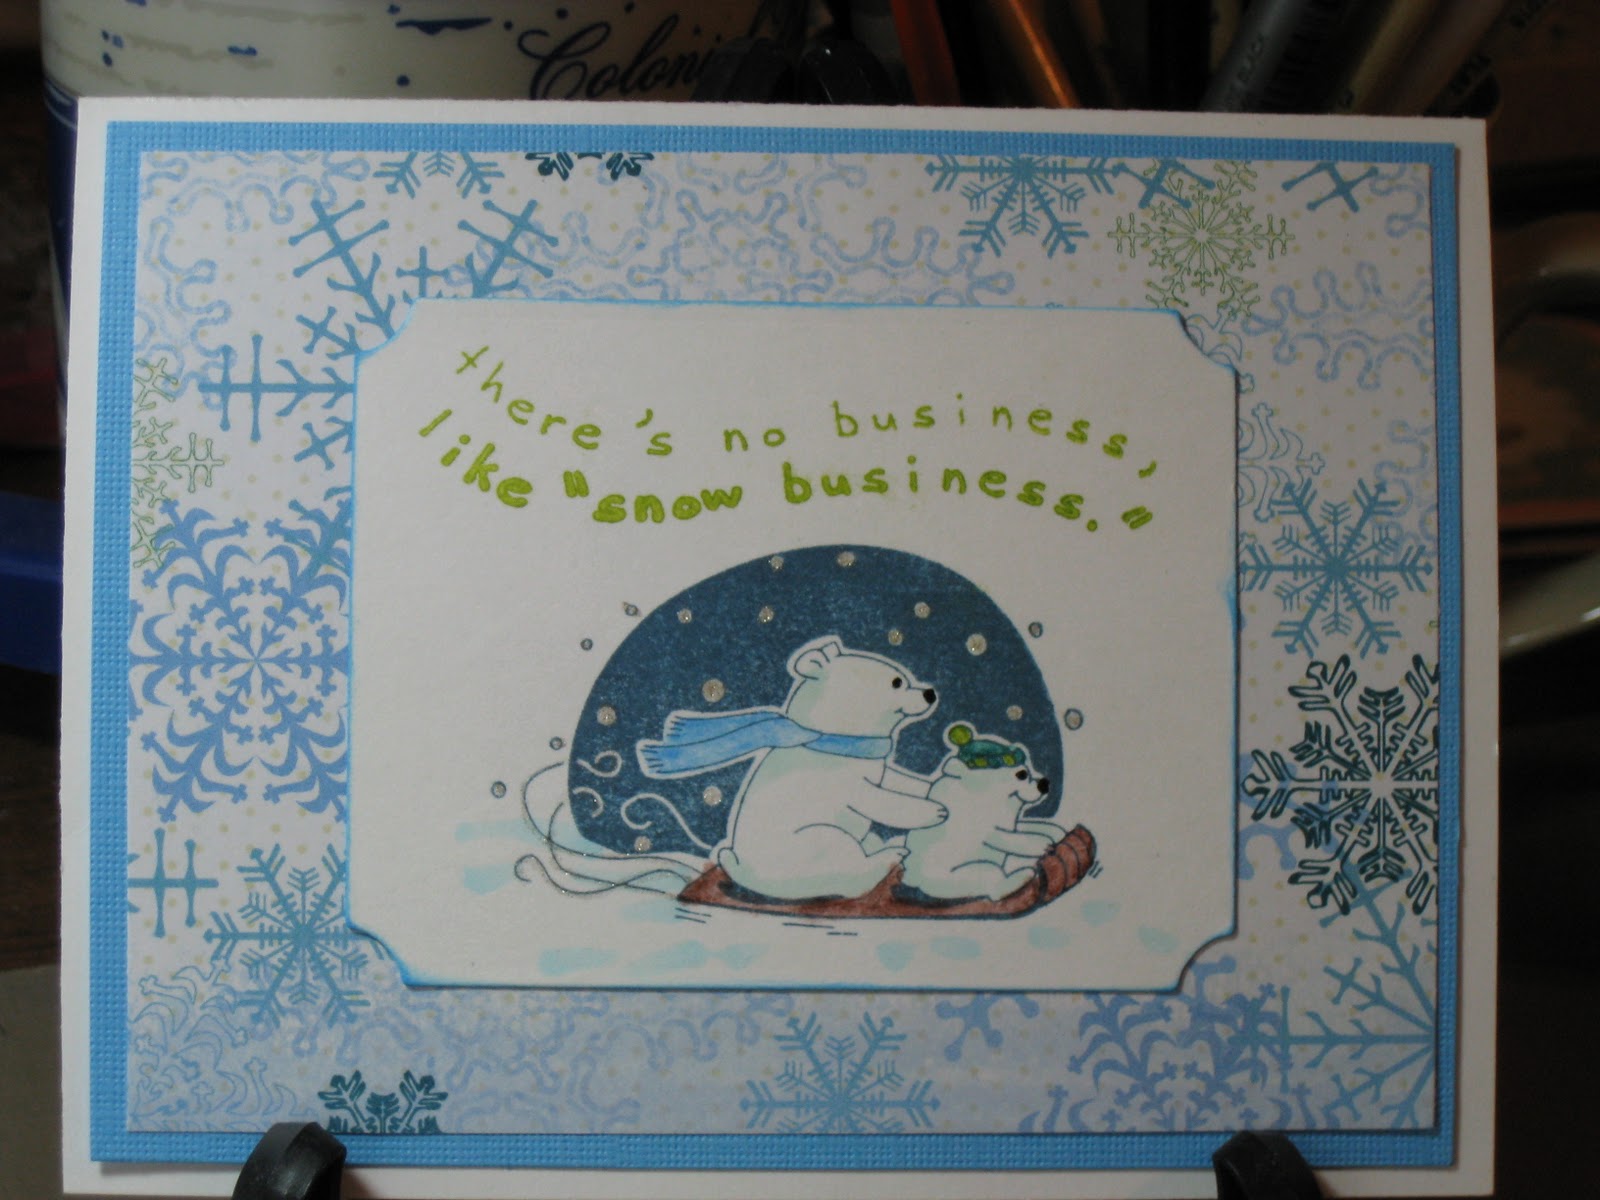
     Well, I had a productive day today. I went to lunch with a friend of mine to celebrate my birthday belatedly (my birthday is in December, but we had family medical things going on and it wasn't a good time). After she left, I started some laundry and headed up to the craft room. I worked on the male counter-part of the cocoa pocket card that a posted a few days ago. For this version I used a patterned paper from the DCWV Holiday Collection Christmas Stack. I used the same Inkadinkado Christmas Characters Stamp and colored it to match the paper, with Steadtler Watercolor pencils, Gelly Roll Clear Star for the snowflakes and trails behind the sled and a black glaze pen for the eyes and nose. I also used the same Copics BG10 on the bears and B00 to accent the snow and ground the image. The white rectangle was cut with a nestability. The sentiment was stamped with ink from Color Box's Petal Point Pinwheel collection. I also used the blue from the same collection to ink the sides of the white rectangle.


     Here are the two designs together.

If you'd like the directions for the cocoa pocket card, you can find it on the second post below this one.

     While ink was drying on this I worked on cards that I still needed to make for a gift for the Youth Director at my Church. If you've been following the saga since the beginning, I was making her some cards as a belated Christmas present (part of the December thing). The cards I've already given her are posted earlier on this blog. I asked her what else she could use, thinking I'd make her about 2 more cards and she said baptism, so today that's what I made. I think I might try to make her a couple of birthday cards, also, sometime soon. 
     The 2 cards I made are basically the same except for paper color and ribbon.  For the first one I choose green paper from Paper Studio's Pastel Cardstock Pack, cut a 5 1/4 x 4 inches and embossed it with Sizzix Divine Swirls. Next I added striped vellum cut at 4 3/4 x 3 /12 inches and added silver metallic dots to the corners. The green ribbon was some I picked up at Joanne's. I cut a scalloped oval with a nestie and stamped the wood mounted Stampabilities Ornate Cross on it with Big and Bossy, then embossed it with silver metallic embossing powder. I then added the oval popping it up. The oval was cut with a nestie also and stamped with Clear Stamps Wedding Congratulations in Dark Chocolate by PaperTrey Ink. It was double popped to go over the image. The inside is very basic for me. I just left if for her to write in. The butterflies were cut from some of the scraps with a Martha Stewart punch


     You see the yellow is basically the same, only embossed with Swiss dots and stamped with Summer Sunrise ink from PaperTrey. The ribbon is Best Occasions Self-adhesive Ribbon

     What would I have done different. The yellow one was actually done first and I realized that the vellum needed to be cut smaller, so I fixed that on the green one. On the green one, I had forgotten to add the ribbon and had to sneak it under after it was glued down, but it worked, phew!  I think the ribbon on the yellow is place to high. I like the placement on the green better. Well, we won't talk about how far the laundry got, but there is always tomorrow.
     Thanks for stopping by today and visiting with me. Leave me a note if you've got a moment more.  I may not be able to post on late Friday/Early Sat. because I will be picking my son up from college for his spring break. It doesn't seem like spring, but that's what the school calendar says. Maybe that's why so many of them go south, to find spring ;- ) Until next time then.

Thursday, February 10, 2011

Getting on with the Valentines

     Well, despite some shopping at Hobby Lobby and JoAnne's, I was still able to finish my DS's Valentine card. Very tricky this year, because he's in collage and likes to put up his cards on his bulletin board, so I had to keep it non-mushy and non-embaressing, as well as mature ;- ) That's an awful lot to ask of a mom! So I decided, no pink or red on the outside. I have picked up a lot of cool, free Photoshop brushes, at a few sites so I took some time yesterday, just going over them. One, I liked for my son, was from a site called photoshopfreebrushes.com. Who'd of guessed. I applied a few effect to it such as, chrome and wow chrome beveled edge to make it look metallic. I had the original layer on top and made that layer partly transparent for the effects to show. I also add one of the texture backgrounds that comes with Photoshop Elements. I then printed this and used it as the top layer of the card. On this I attached the word Hugs cut from the Smiley Cards cart on the Gypsy. It was cut at 1 1/4 inches from blue DCWV paper. I bowed it slightly and attached it with shiny heart brads and silver dull brads from Spare Parts. I also added faux stitching with a black glaze pen.


     On the inside, I started with a black mat. I made the sentiment digitally using the font Tabitha, which comes on Macintosh computers. After that, I remembered an idea I had while shopping, to put a list of the reasons we love him, in his card. So, I decided to make a tag and find a way to squeeze that in too. I stamped the tag with a clear stamp by Autumn Leaves called Hand Drawn Journaling Panels by Katie Pertiet with Big and Bossy and clear embossing powder. I then rubbed rubbed Ranger's Broken China ink over it and cleaned the excess off of the embossed areas. I wrote on it with a black glaze pen. I made 2 hearts out of Core'dinations Magic Paper that was black with a red core. I cut the hearts at 1 inch with the Expression using Plantin Schoolbook using the Roly Poly feature key. I then dry embossed it with Swiss Dots and sanded it so the red core would show. I used one of the hearts to help hold the tag on the card, but also attached the tag with removable tape, so he can take the tag off and save it anywhere he wants.

     What would I change? I would have planned for the tag better to begin with and moved the writing  over inside the card. Or... maybe I would have planned a pocket in the card for the tag to fit in and the it could be slipped out. Though I do like it as an element in the card, maybe I'll shorten the twine a bit yet and attach the twine across the top. The inside isn't quite right, but I like the card. I might have been able to make the digital writing narrower and that would have balanced the tag better. Ah, that sounds better.
Well, thanks again for visiting. Please give me your feedback. I'd love to hear from you.